Showing posts with label easy DIY. Show all posts

Tuesday, January 26, 2016

CREATING A LOVELY VALENTINE VIGNETTE

Welcome TLB friends!

In today's blog I'm showing you how easy it is to create this beautiful "Valentine Vignette" in your own home.


Items you will need:

-A small vase that will hold one dozen flowers of your choice. I used tulips and roses.
-Small piece of raffia or ribbon to tie around the vase.
-One small silver dish (Hobby Lobby) filled with candy of your choice.
-1 twiggy branch with tiny flowers of your choice on the branches, branches cut off
(Hobby Lobby)
-1 shiny Valentine themed item similar in size to my silver ceramic statue of LOVE 
(Kirklands)


Steps to creation:

1. Arrange you flowers with roses in the lower front and tulips a bit higher in the back. Add green twigs of your choice for texture and contrast.

2. Fill candy dish with Valentine candy of your choice.

3. Cut branches off the large twiggy branch, and place strategically around items to give the vignette a soft flowy look.

4.  I purchased 2 yards of deep gray fabric and some white chalk. (Hobby Lobby) I serrated the sides of the chalk, and rubbed it on the fabric giving it a similar look to chalk on a chalkboard.

5. Arrange your vase, candy dish and floral arrangement to your liking. Then add the twigs where you see fit.

I love to try new and different things for Valentine's Day! Give it a try....you can do it!

HAPPY VALENTINES DAY!


Kathleen

Thanks so much for stopping by TLB! 


Tuesday, May 20, 2014

DON'T LIKE MAIL CLUTTER---CHECK OUT THIS EASY DIY!

Good Morning Friends!

 I bet you are looking at your calendar thinking it's Tuesday why am I reading a blog from The Lavender Bouquet today. Well, apparently I experienced some technical issues yesterday, some of you received the blogs and some did not.  So here I am trying to recreate simply what should have gone out yesterday!  So sorry for any inconvenience.

What did you do over the weekend? Hubby and I traveled to Philly for lunch. He loves finding restaurants that make the "list" of what's delish and unique.  When we arrived to the address given we were a little baffled, however, our lunch experience was much more than we expected. I plan on sharing  this with you in future blog.

Today's blog is a quick and easy DIY! It all stemmed from a necessity; taking the cluttered mail off the corner of my kitchen island. It's so simple I  thought I would share it with those of you that can't stand clutter like me!

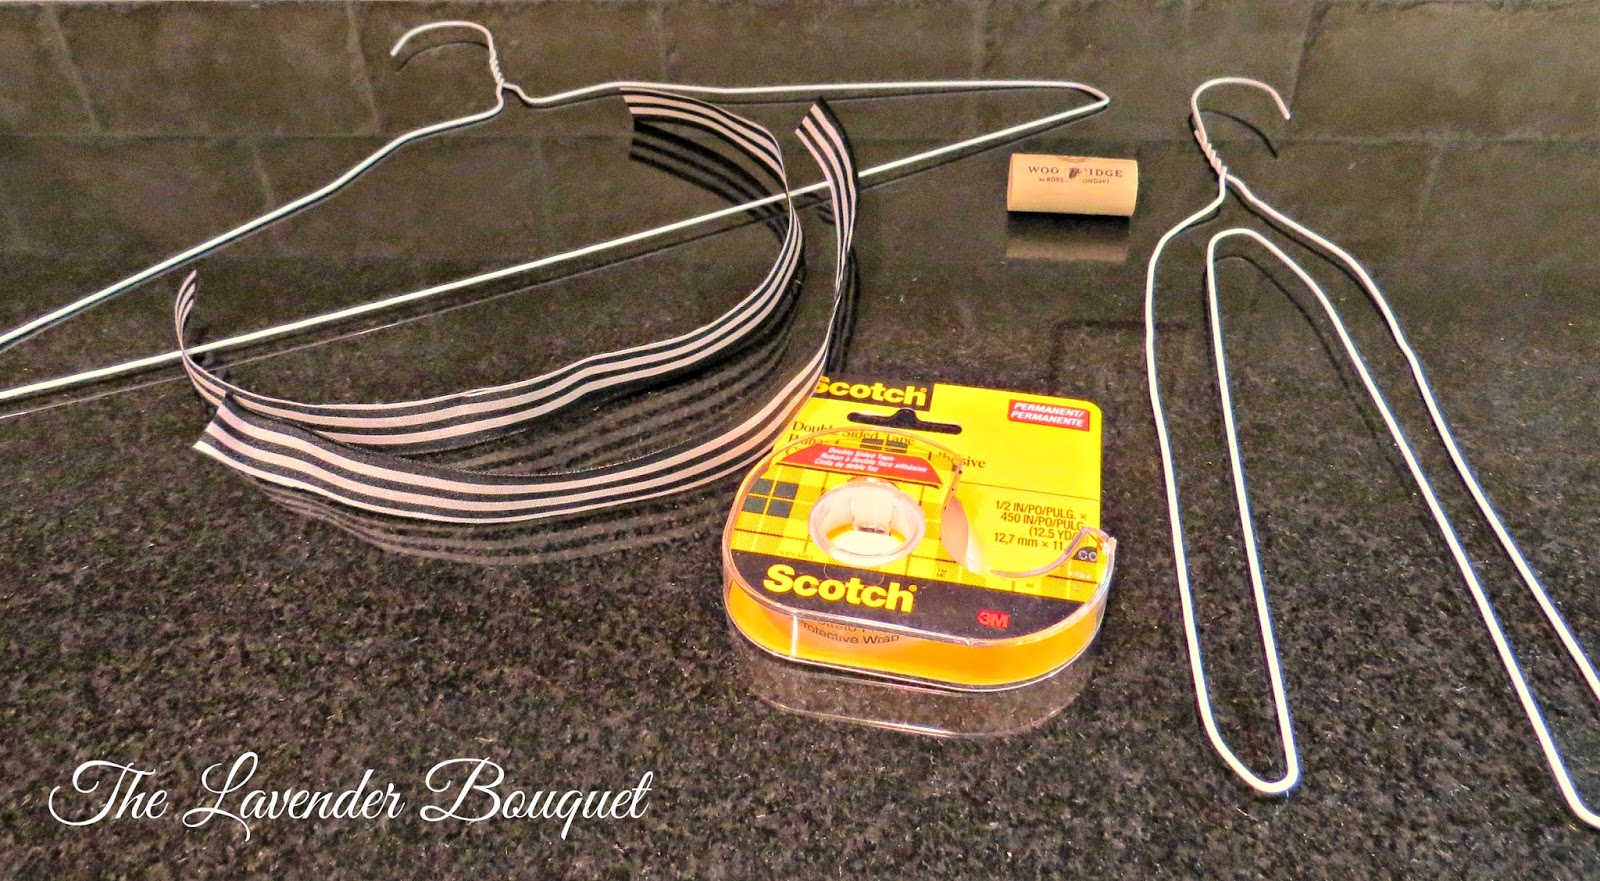
To start the project you will need the following:
  • One wire hanger
  • Fabric or ribbon cut into 16 inch strips 3/4 wide
  • Double sided tape
  • Wine cork


DIRECTIONS:

1. Bend wire hanger into the configuration you see above.
2. Wrap hanger with double sided tape.
3. Wrap hanger with fabric securing tightly as you progress around the wire.
4. Drill hole the size of the neck of the wire in the wine cork, label, and slide over the neck of the hanger.

That's it. Now you have to decide where to hang yours!

***** If you have frayed edges--you may use "fray check." to keep them under control.

I chose to hang my mail holder by our key rings. This way we grab and go......to the post office!


 DIY  MAIL HOLDER

                        See how easy that is?  Now you too, can be clutter free! Have fun!

                                                                  Kathleen

****See you tomorrow with ideas for the upcoming Memorial weekend!