
When thinking of our family through the years, this phrase was so appropriate and it still is. When the girls are home it is so much fun because they pitch in and help from meal preparation to cleaning up. Now that they are older they have favorite recipes of their own and enjoy sharing them with us too.
About three years ago at Christmastime, I came up with an idea to teach the girls how to make something food related that they had never made or even tasted before. Our first year was a Yule Log, and last year was Paella which was chosen as a result of a Fall trip to Lisbon where my husband and I had enjoyed this dish for dinner one evening. So as a result of adding our new Christmastime tradition, we added a new dimension to the meaning of "our family gathering in our kitchen."
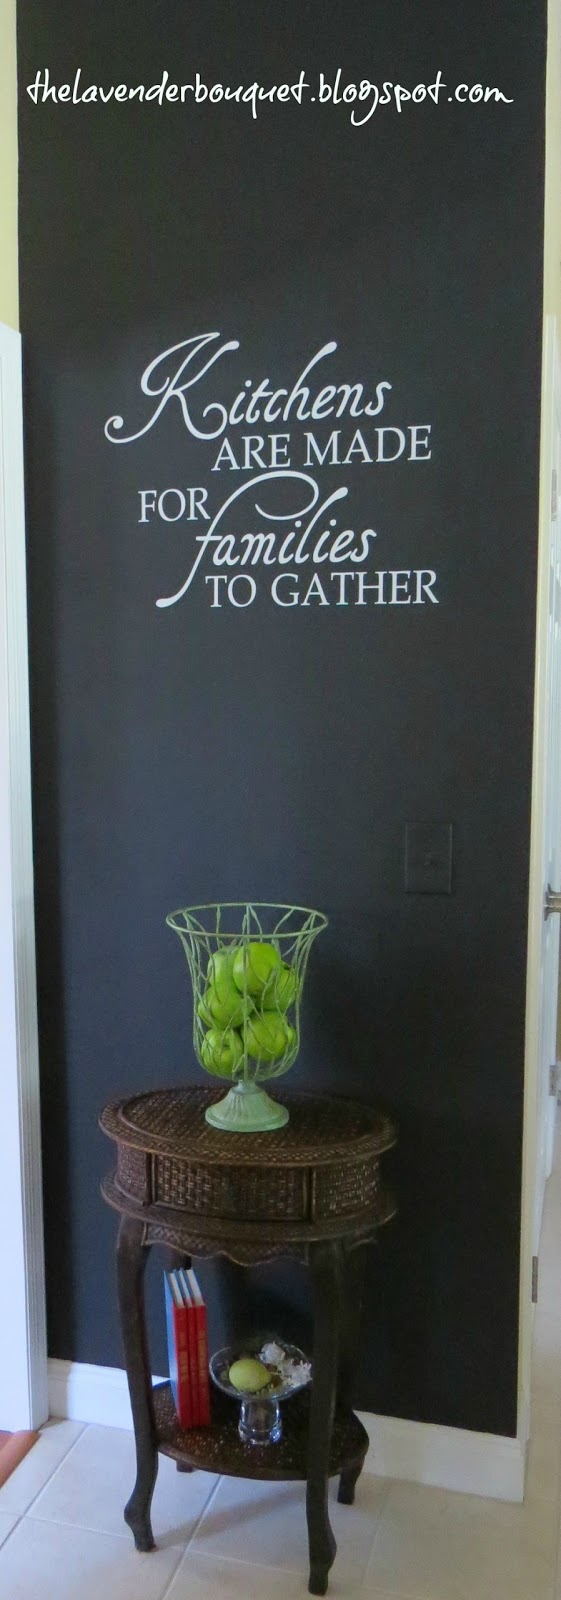
The project I had in mind meant changing the entire look of the small wall situated directly across from the "new coffee nook." I purchased one quart of black chalkboard paint, painted the wall with two coats of paint and let it cure for about 2 1/2 weeks.
PREPARE THE VINYL DECAL---I laid the vinyl decal on a flat table surface. Pressing firmly over the entire decal with the edge of a credit card or similar object. This activates the bond between the vinyl and the transfer tape.
PLAN YOUR LAYOUT--I measured the height where I wanted the phrase to be hung. My measurement was from the ceiling to the top of the transfer paper where the phrase began. I marked this with painters tape. I also measured and marked with painters tape the center of the wall so that I could center the phrase on the wall.
At this point lift the vinyl up starting from any corner, slowly peel the thick white backing away, carefully making sure that the vinyl stays on the transfer tape side. (see below)

I used a paint edger and a credit card and started at the top center and worked my way to the outer edges, carefully rubbing over the vinyl to secure it to my chalkboard surface. Once you have done this, carefully remove the transfer tape, making sure that the vinyl lettering is sticking to your surface.

This is my finished wall.......

HOME is where the HEART is!!
Hope you enjoyed this segment of DIY..........
This DIY Project is outstanding! Keep the Creativity coming.
ReplyDelete